How to Buy ETH Directly on Base in 2026: The 4 Routes I Actually Use
The expensive detour everyone makes first
I watched a friend buy his first ETH on Coinbase, withdraw it over the Ethereum network, pay roughly $12 to move it to his wallet, then pay another few dollars approving and bridging it to Base. He had done everything the tutorials said, in the wrong order. Two hours and about $20 lighter, he finally had ETH sitting where a $0.10 withdrawal could have put it in sixty seconds.
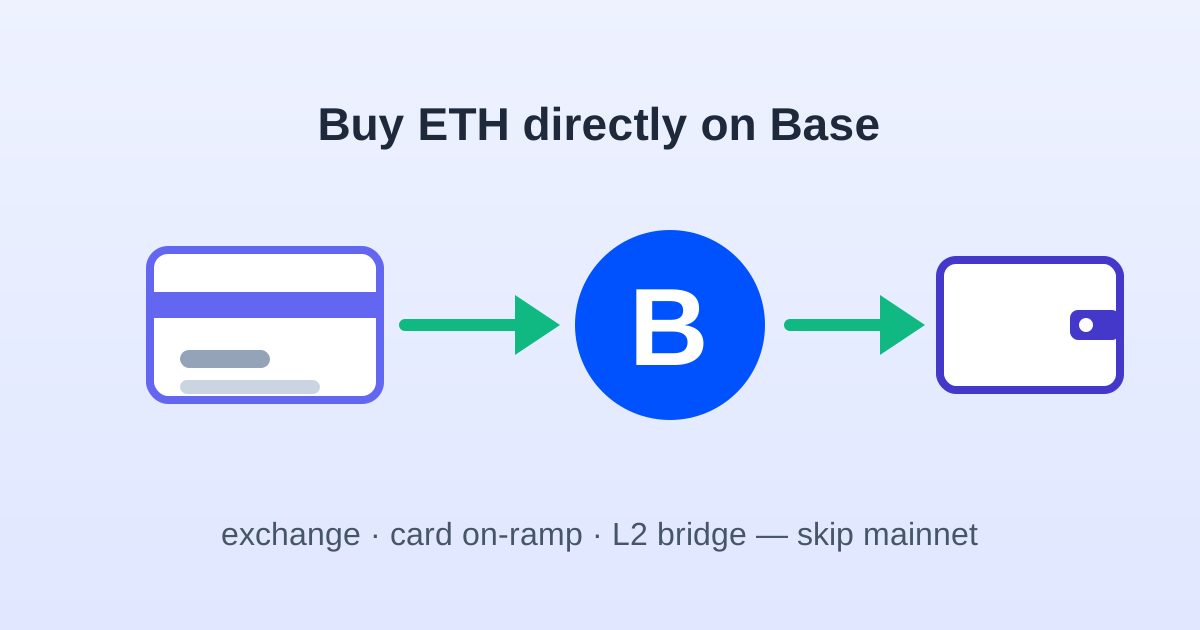
That detour is completely unnecessary in 2026. Base has direct fiat onramps and direct exchange support from every major platform. Your first ETH on Base does not need to touch Ethereum mainnet at all. This is the route map I give anyone setting up their wallet. The reverse direction — turning it back into bank money — is in the cash-out guide.
Route 1: Exchange withdrawal to Base (my default)
This is the cheapest and fastest route for almost everyone: buy ETH on an exchange, withdraw it using the Base network, done. Coinbase has the tightest integration because it incubated Base, but Binance, Kraken, OKX, and Bybit all support Base withdrawals for ETH and USDC. The step-by-step walkthrough is in the HowTo block above; the operational details are in the exchange withdrawal guide.
Network fees are typically $0.01-0.30 depending on the exchange policy, and settlement takes under a minute. The catch is minimum withdrawal sizes: some platforms force a 0.005-0.01 ETH minimum or a flat withdrawal fee that makes tiny buys uneconomical. Check the fee line before buying — a $10 purchase with a $5 flat fee is a bad trade, and you are better off using a card on-ramp instead.
Route 2: Buy inside the wallet with a card
MetaMask, Coinbase Wallet, Rainbow, and most modern wallets have a "Buy" button that routes through MoonPay, Transak, Mercuryo, or Coinbase Pay. You enter a card or bank transfer, select Base as the destination network, and ETH lands directly in your wallet — no withdrawal step, no address copying. For a first-timer this is genuinely the least error-prone flow.
You pay for the convenience. Card on-ramps charge roughly 2-5% all-in between processing fees and spreads, and identity verification can take ten minutes the first time. I use this route for small, immediate top-ups under $100 when I am setting up a fresh wallet, and exchanges for anything larger. The table below shows where the breakeven sits.
Route 3: Bridge from another chain you already use
If you already hold funds on Arbitrum, Optimism, or another rollup, bridging across to Base costs cents and takes a few minutes through the Superchain bridge or a third-party bridge — no mainnet step. I regularly rebalance between Base and Arbitrum this way; the USDC-native version of the trip is documented in the CCTP bridge guide, and the ETH-on-Arbitrum starting point is in the Arbitrum bridge guide.
This only makes sense when funds are already on an L2. Bridging from Ethereum mainnet to Base still means paying mainnet gas on the way in, which is the detour this whole article is about avoiding.
Route 4: P2P and exchange-to-exchange (advanced)
A handful of regional exchanges and P2P markets let you buy USDC cheaply from a local seller and withdraw it over Base. Fees can be excellent and the payment methods are flexible, but you are taking counterparty risk on the trade and the interface usually assumes you already know what a network selection is. I would not recommend this as a first purchase; once you have done ten exchange withdrawals the risk is easy to manage.
One related shortcut: if you hold funds on a second exchange that has free internal transfers, move the crypto between exchange accounts for free, then do the Base withdrawal from the platform with the cheapest network fee. This saves real money on repeated top-ups.
What the four routes actually cost
| Route | All-in cost | Speed | Best for |
|---|---|---|---|
| Exchange withdrawal | $0.01-0.50 + spread | ~1 min | Anything above $100 |
| Wallet card on-ramp | 2-5% | 1-10 min | First $20-100, zero setup |
| Bridge from another L2 | $0.01-0.30 | 2-10 min | Funds already on a rollup |
| P2P / internal transfer | $0-2 | Minutes to hours | Repeat users, regional rails |
| Mainnet buy + official bridge | $5-25+ | Minutes to 7 days | Nobody — avoid |
How much ETH do you actually need to buy
Gas is priced in ETH, but you need shockingly little of it on Base. A simple transfer costs a few thousandths of a cent in gas, a swap roughly $0.003-0.02, and even heavy contract interactions stay under $0.10. $15 of spending ETH covers several hundred transactions for a normal user. The detailed table — transfers, swaps, approvals, NFT mints — is in how much ETH you need for L2 gas.
This is why my standard top-up is $20 of ETH plus however much USDC I intend to actually use. Holding large ETH balances on Base also exposes you to ETH price movement when your plans are denominated in dollars; keep gas money small and refill when the wallet warns you.
The three mistakes that ruin the first purchase
- Selecting Ethereum network instead of Base. This is the $20 mistake. The network selector on the withdrawal screen determines which chain carries the transfer. "Base" or "Base Mainnet" is the answer; "ERC-20" or "Ethereum" means mainnet.
- Withdrawing to a contract or exchange address. Always withdraw to your own externally owned wallet. Some smart-contract wallets cannot receive direct exchange deposits without extra configuration, and sending to the wrong type of address is exactly the scenario in the wrong-network recovery guide.
- Buying WETH instead of ETH. Exchanges send native ETH for gas. If you end up holding Wrapped ETH it will not pay for gas until unwrapped — the difference is explained in the WETH vs ETH guide. On the withdrawal screen you want plain ETH.
Follow the test-withdrawal habit in the HowTo and all three are caught on a $20 transfer instead of a $2,000 one. Cheap networks make this the most affordable safety drill in crypto.
My current default in one paragraph
For a brand-new wallet I buy $50-100 worth through the wallet card on-ramp to get started in five minutes, then switch to exchange withdrawals for all future top-ups: $20 of ETH for gas, the rest in USDC, Base network selected, test transfer first. I bridge between L2s whenever funds are already on one, and I never route new money through Ethereum mainnet. The whole point of Base is that the cheap chain is also the easy one to enter — use it that way.
Trade on Base / Arbitrum with Low Fees
Choose a trusted platform to swap, bridge, and trade on L2 networks.
Affiliate links — we may earn a commission at no extra cost to you.