How to Withdraw from Binance to Base (and Arbitrum): Real Fees, Steps, and the Network Trap
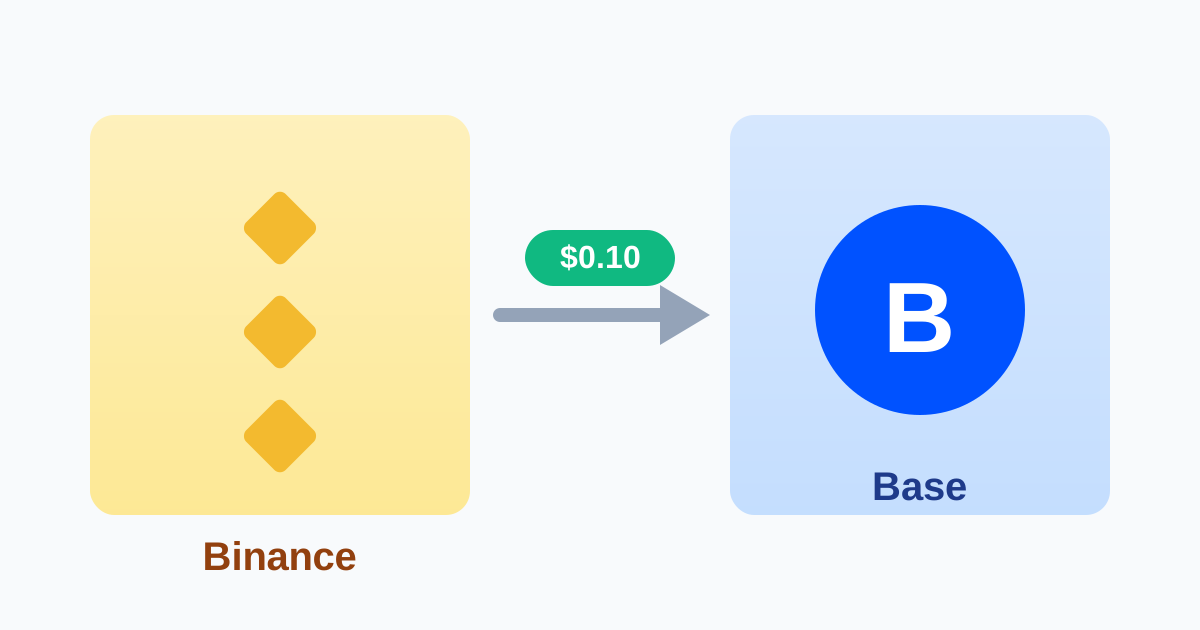
Nobody bridges to Base anymore (and you don't have to either)
Two years ago, getting onto Base meant the full ritual: buy ETH, wait for mainnet gas to look calm, bridge, pay $5 to $15 for the privilege, and refresh the explorer every 30 seconds. That workflow is basically dead for everyday users. Every major exchange now withdraws directly to the L2 networks, and the cost difference isn't close.
Sending USDT from Binance to Base costs about a dime. Bridging the same amount from Ethereum mainnet costs dollars, sometimes more than the money you're moving. I stopped bridging entirely sometime in 2025 and haven't missed it once. My bridging cost breakdown still has its uses — mainly if your funds are already stuck on mainnet — but for anyone starting from an exchange, withdrawal is the move.
What each withdrawal network actually costs
The same USDT can leave Binance over a dozen different networks, and the fee spread is genuinely wild. Rough 2026 numbers for a USDT withdrawal:
- Base, Arbitrum One, Optimism: about $0.10 to $0.15 — the cheapest Ethereum-compatible routes, arriving in under a minute
- BNB Chain (BEP20): around $0.30
- Tron (TRC20): about $1
- Ethereum (ERC20): roughly $1 to $5 on a calm day, and I've seen it quoted north of $20 during congestion
For ETH withdrawals the pattern holds — L2 networks cost cents to a couple of dollars, mainnet several dollars and up. Two caveats: exchange fees get repriced often, so treat the quote on the withdrawal screen as the real number, and fees differ per coin (USDT on Base is not the same fee as BTC on Lightning). The ten-figure takeaway: if the dropdown shows Base at $0.10 and Ethereum at $5, picking Ethereum for a $200 transfer just burned 2.5% before you did anything.
The full walkthrough, step by step
The whole flow takes about two minutes once you've done it once:
- In your wallet, switch to the Base network and tap Receive to copy the 0x address. If Base isn't in your wallet yet, my Base + MetaMask setup guide covers it in ninety seconds.
- On Binance: Wallet → Withdraw → On-Chain, and pick your coin.
- Paste the address. Binance usually auto-detects the address format, but the network is still your choice — it does not guess right for you.
- In the network dropdown, pick Base. The fee next to it should read about a dime.
- Check the "receive amount" line, pass security verification, submit.
Funds normally land in under a minute. If your wallet shows nothing, don't panic-check the seed phrase — first confirm the network badge in your wallet actually says Base, because a wallet sitting on Ethereum mainnet will hide Base balances completely.
The wrong-network trap, explained honestly
Here's the part worth slowing down for. Choosing the wrong network is the classic way people lose money on withdrawals, and the details matter more than most guides admit. If you send over an Ethereum-compatible network (Base, Arbitrum, Optimism, BNB Chain, mainnet) to your own 0x address, the money almost always lands on that other chain at the same address — annoying, but recoverable by adding the network to your wallet. I've rescued myself twice this way.
The genuinely dangerous cases are different: sending to a deposit address on another exchange that doesn't support the network you picked, or sending a coin over a non-EVM network like Tron or Solana when the recipient only supports EVM chains. Those can be unrecoverable. So the rule isn't "never pick the wrong network" — it's when withdrawing to an exchange, check that exchange's deposit page for the supported networks first; when withdrawing to your own wallet, any EVM network is survivable. And for a first withdrawal to a new wallet, send the minimum and confirm arrival before moving the rest. One test transaction costing a dime is the cheapest insurance in crypto.
Withdraw a little ETH too — this is the step everyone skips
The most common support question I see isn't "my withdrawal vanished" — it's "my USDT arrived and now I can't do anything with it." The reason is always the same: gas on Base is paid in ETH, and a wallet holding only stablecoins is a car with a full tank and no key. The stablecoins will sit there perfectly safe, and perfectly unusable, until ETH shows up.
The fix takes the same two minutes as the first withdrawal: repeat the flow with $5 to $10 of ETH, on the Base network. That buffer covers dozens of swaps and transfers — my gas reserve math walks through exactly how far it stretches, and new "gasless" wallet flows (covered in my smart wallet guide) increasingly let apps sponsor the first moves. But the buffer is still the reliable default. Once both withdrawals land, glance at the Base gas calculator to see what your first swap will actually cost — it's usually a fraction of a cent, which after that $5 mainnet bridge you didn't pay feels almost rude.
Arbitrum works exactly the same way
Everything above applies to Arbitrum One one-for-one: same dropdown, same ~$0.10 fee, same under-a-minute arrival, same "bring a little ETH for gas" rule. The only differences are downstream — Arbitrum's fees wobble a bit more with mainnet congestion (the Arbitrum fee explainer covers why), and its gas reserve stretches slightly less far than Base's.
Which one should you withdraw to? If you're just parking stablecoins and swapping occasionally, Base's fees run slightly lower and steadier. If you're headed for GMX or deeper DeFi, go straight to Arbitrum. The honest Base vs Arbitrum comparison settles the rest — and since a withdrawal costs a dime, you can afford to just have both. Check the live gas tracker before your first swap either way.
Opera en Base / Arbitrum con Bajas Tarifas
Elige una plataforma confiable para swap, bridge y operar en redes L2.
Enlaces de afiliados — podemos ganar una comisión sin costo adicional para ti.